Just remember to enjoy your beer AFTER you put the tools away! Don't ask how I know this...


Just remember to enjoy your beer AFTER you put the tools away! Don't ask how I know this...
"don't worry, i'm a professional!"
LOL! I stay away from alcohol when handling sharp and/or exploding objects!
Got them Statesboro Blues
Smart man! Impaired motor skills and judgment don't mix well with power tools...
"don't worry, i'm a professional!"
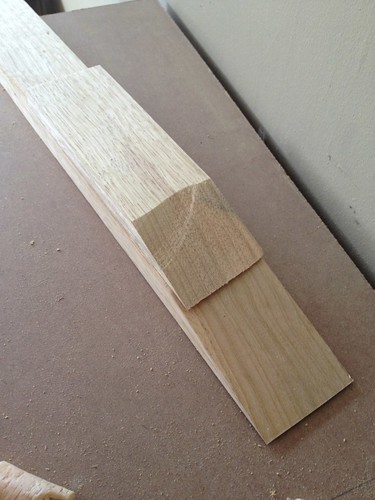
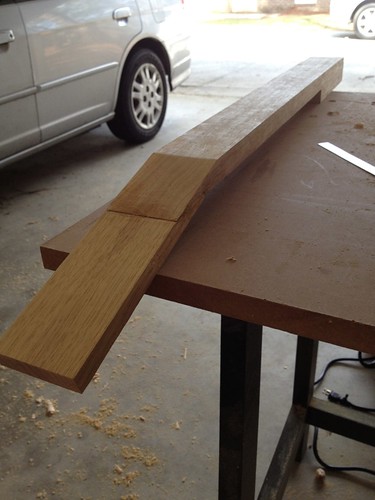
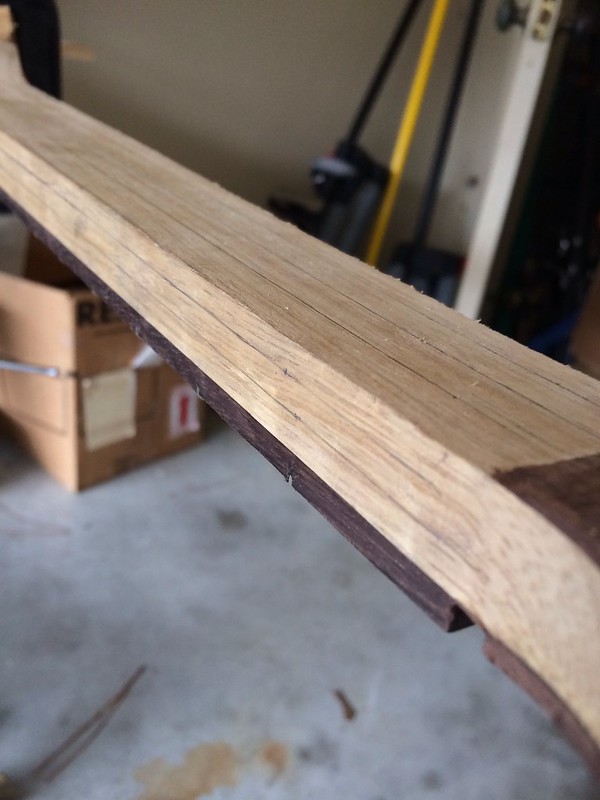
Not as much progress this weekend as I would have liked but forward progress was made. Next step on my neck was to scarf the headstock. My first attempt on Saturday was pretty pathetic. So I'm not posting pictures of it.So today (Sunday) I cut off the scarf, cleaned it up with a chisel, sand paper, and my plane, and squared up and scarfed another headstock piece with some leftovers from rough cutting my neck blank. I marked 15 degrees with a speed square, and cut it with a circular saw.
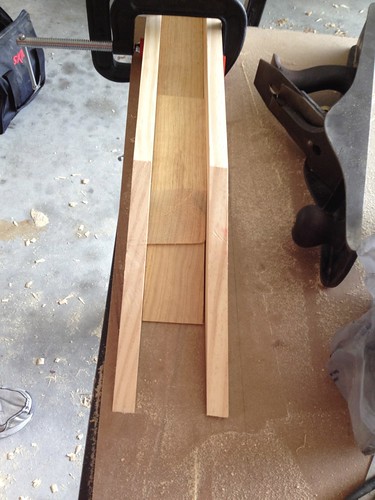
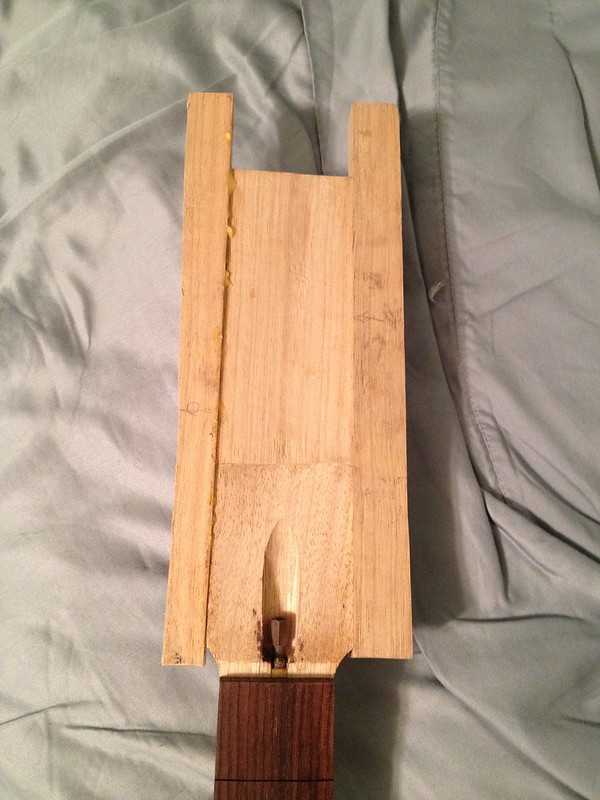
My first attempt I had a really hard time keeping everything flat and square through the entire surface of both gluing surfaces. So this time I set up a jig to help me route both surfaces to the same angle. Nothing fancy. Cut a 15 degree angle into a couple pieces of pine, squared them both up with a right angle square, clamped them into place, secured the headstock on top of the neck with some double stick tape, and it was ready to hit with the router.
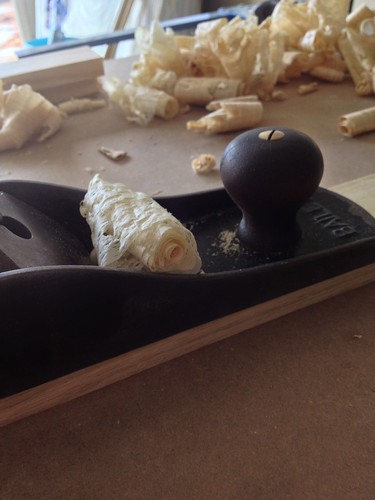
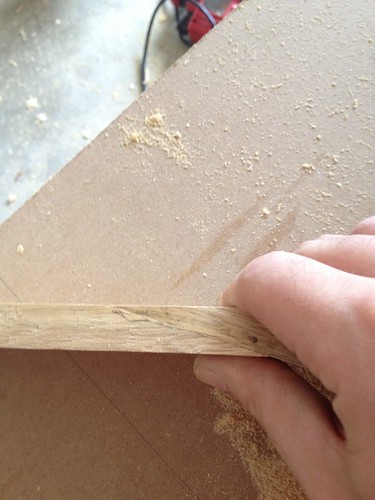
Squaring up the headstock prior to scarfing (and an excuse to show a nice plane shaving picture):
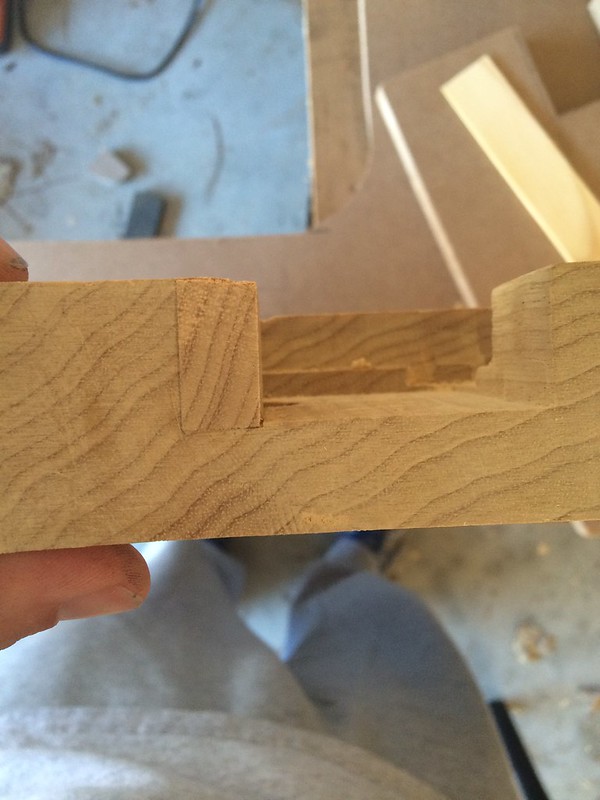
After cutting the scarf:
After Routing:
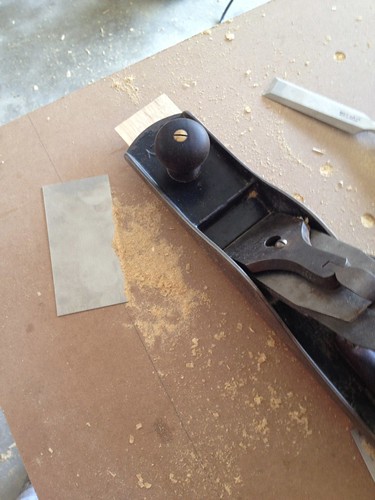
Wasn't quite perfect so I hit it with a palm sander and finished it with a cabinet scraper to get everything flush. Worked perfectly this time. As A side note, I got a $10 sharpening jig from Woodcraft and used the wetsanding paper on a granite block (a $20 granite side splash from Home Depot) method and that worked perfectly to sharpen my plane blade. My new blade wouldn't work on my old Stanley Bailey (too thick) but starting at #1000 grit on my old plane blade and working my way to #1500 then #2000 worked perfectly. Got a nice mirror finish on the blade and it cut like butter.
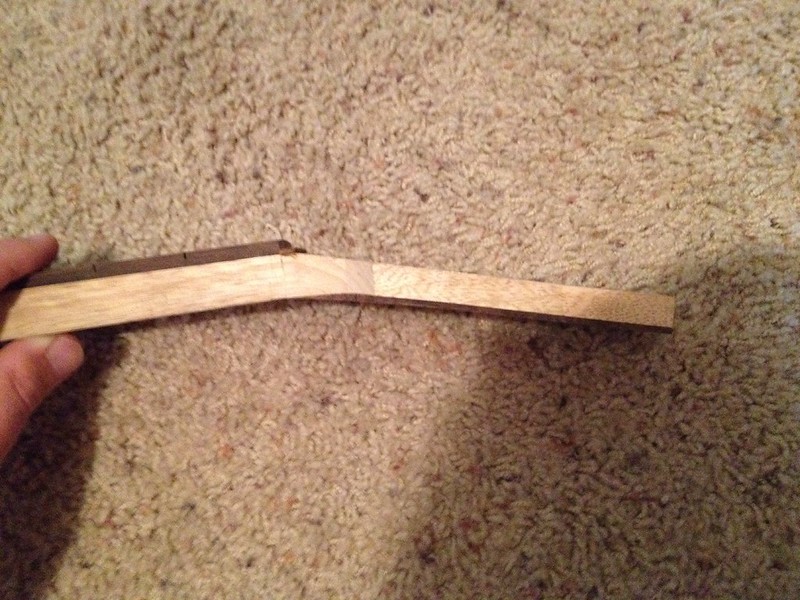
Without glue or clamps:
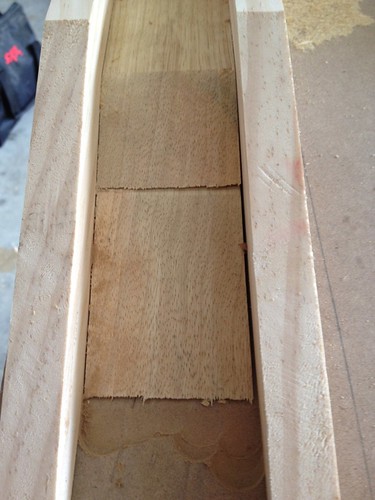
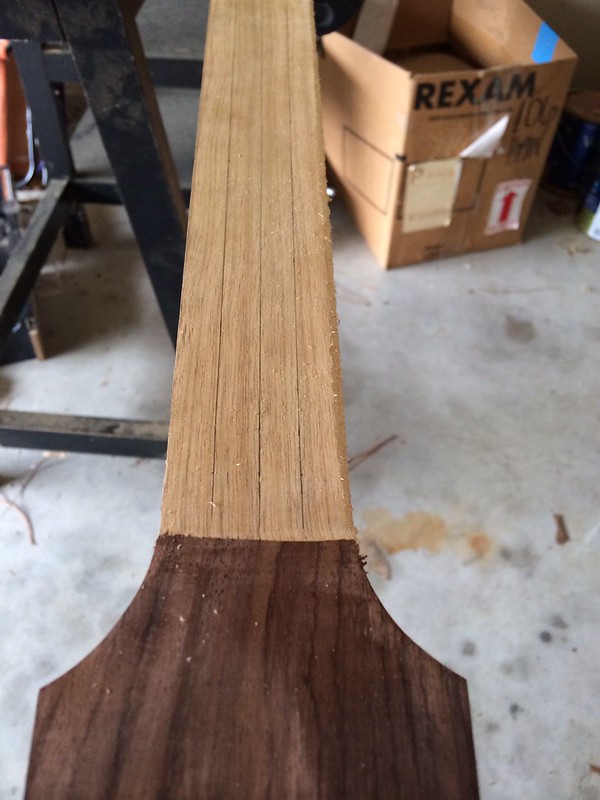
Making sure the neck gluing surface was true:
MUCH better!
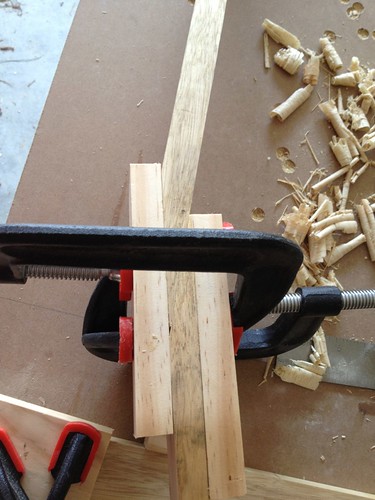
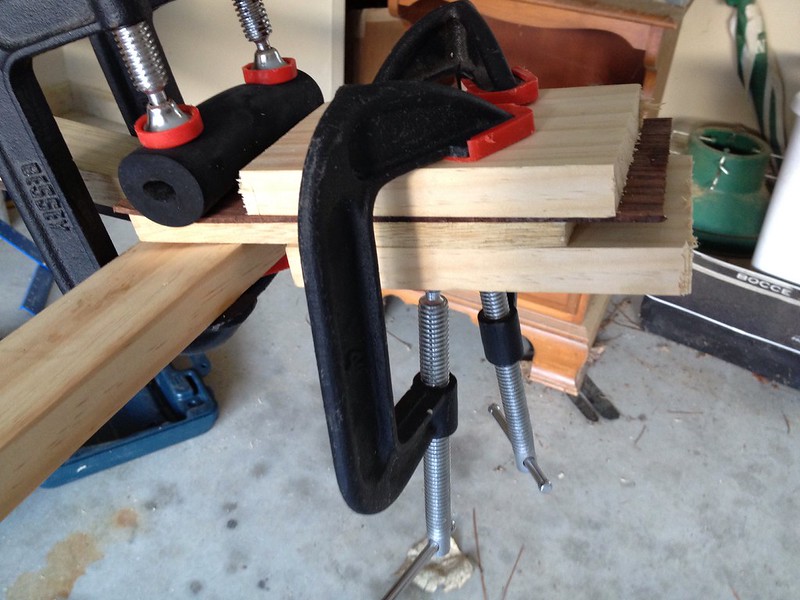
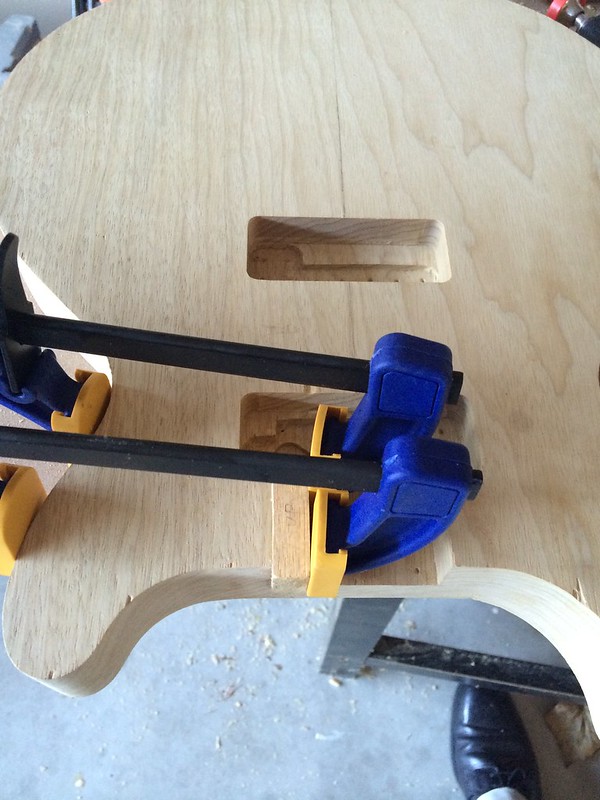
This is a picture of my first scarf joint attempt but it shows how I clamped it. Scarfing it this way was super easy. The scarf didn't slip at all once clamped.
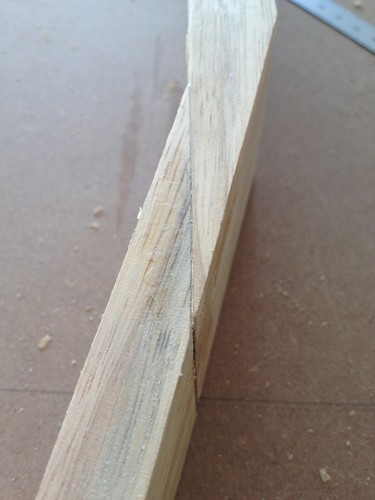
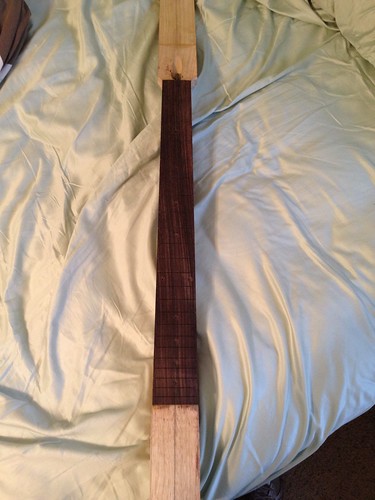
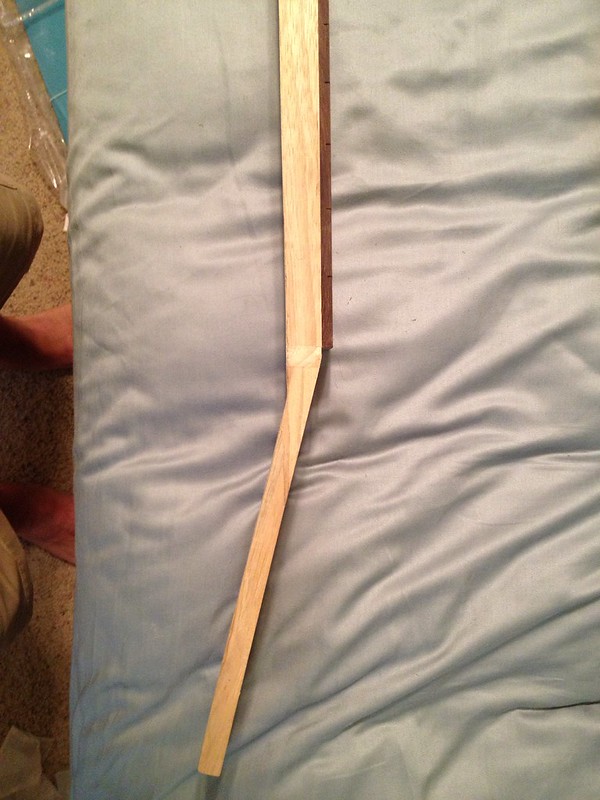
This is the scarfed headstock.
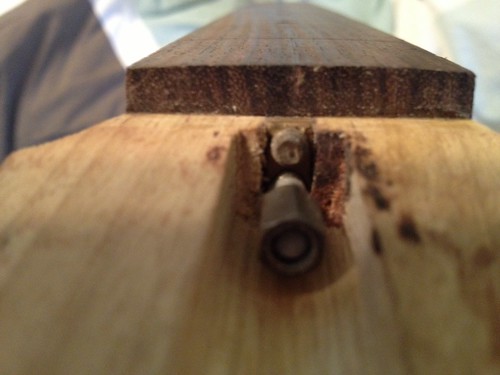
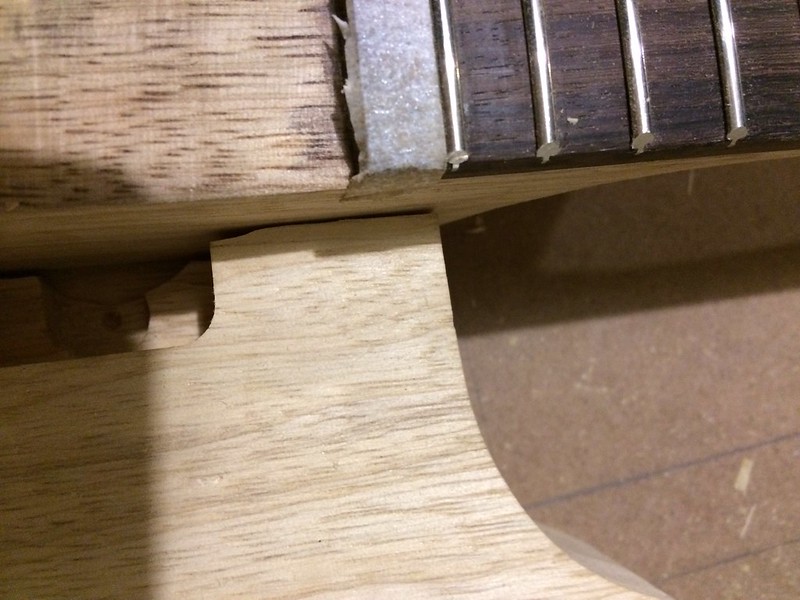
I still need to take it down to final thickness ( 9/16"). That will get rid of some of that weird gap. I thought the router would take care of it but after several complete runs it wouldn't go away. It'll be covered with ears and a headstock veneer so after I'll fill the rest of the gap with CA glue and Korina dust so the veneer has a flat surface to glue against then take it down to final thickness (I only have 1/16" till final thickness). Next time I'll leave it 1/8" too thick so I have plenty to remove to eliminate that gap. Everywhere had a nice tight fit except for about 1/8" of a length of one corner. I applied liberally and had squeeze out everywhere but I guess the wood soaked up too much glue in that one corner. I drop filled it with Titebond so there's no gap.
I'm much happier with this headstock. Sometime in the next couple weeks I hope to true up the neck, route the truss rod channel, install the truss rod, and glue the fretboard!
Got them Statesboro Blues
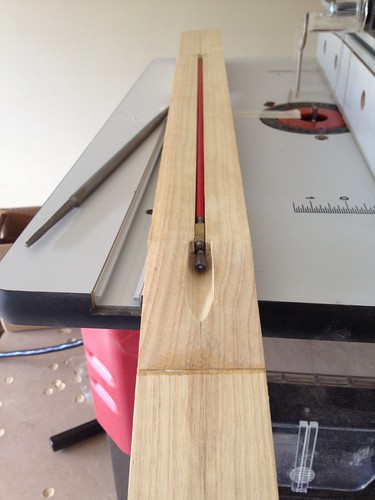
Another update! After letting the neck settle for 3 weeks or so I trued it up, routed the truss rod channel, and installed the truss rod.
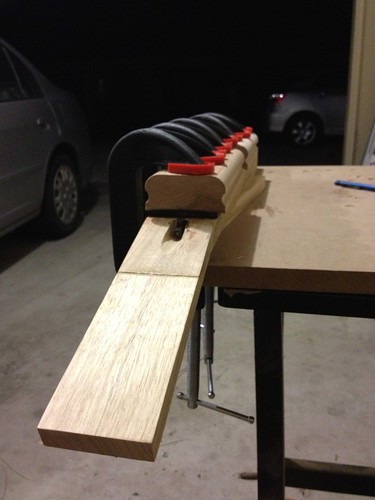
I used a chisel and some sandpaper wrapped around a socket to do the truss rod access. Fancy, I know. Then things spiraled a bit. I installed the fretboard dots, leveled them, the. Glued the fretboard on wrong. I tried hide glue but the stuff gives you almost no working time and I got in too much of a hurry. So off came the fretboard. Glued it on again with Titebond, but even though I used finish nails through fret slots to keep everything put the fretboard moved on me. Off came the fretboard again. Third time was a charm. It's still off by about 0.025" on the headstock end (moved on me while clamping) but after consulting with a few luthiers they said I'll be OK. Next time I'll put one finish nail at the 1st fret and a second at the 21st fret to keep everything in place better. I'm finishing the neck along the centerline of the fretboard, not the original centerline of the neck.
All clamped up
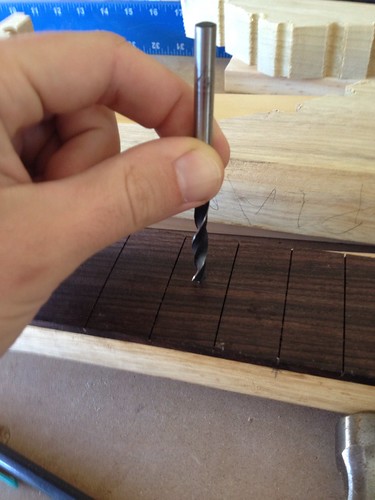
I then punched holes in the new (second) fretboard with a brad point drill bit for the fretboard markers to prevent the bit from wobbling around and drilled the fretboard markers. Was gonna install them but I stupidly ordered one dot instead of 12.
Then after time with a spindle sander, rasp, file, #120 grit on a sanding block, a cabinet scraper, I have this:
Still have a lot of work to do. Need to install the fretboard markers and side dots, install the frets, finish the tenon, carve the neck profile, add headstock wings and veneer, and cut the headstock. Not a perfect neck so far but it should come out decently playable.
Got them Statesboro Blues

That is pretty stupid!Originally Posted by tugboat


Years ago, I was wiring a Les Paul and ordered 3ft. of shielded cable. It turned out that they sold it in 5ft. increments. I ended up with 15ft. of shielded cable! I shared it with friends. Still, it lasted a long time!
Seriously, you're doing a great job! I'm really impressed!
Thanks Don! It'll be a minor miracle if this thing ends up playable!
I'm learning a LOT on this build. My next one should go smoother.
At least you didn't have to buy more wire for a while!That sounds like something I'd do!
Got them Statesboro Blues
It's a bummer when you think you've ordered everything you need then yourealize that you forgot a $0.15 piece that you have to order and pay shipping for! It happened more than once with that amp I just built!
Been a while since I've updated this thread but I've made some good progress actually so time to update! I wasn't able to work on it for a while due to transitioning to a new job (and a lot of overtime) and wedding planning but I got back to it a couple months ago. Been fixing goofs, taking my time, and was stuck in the not making much visible progress doldrums.
I started off working on the headstock and I wasn't paying attention and took too much off and in the wrong spot:
After some helpful advice I decided not to do anything too rash so I ordered a rear veneer to go with the top headstock veneer to make a "stinger".
I first added some ears:
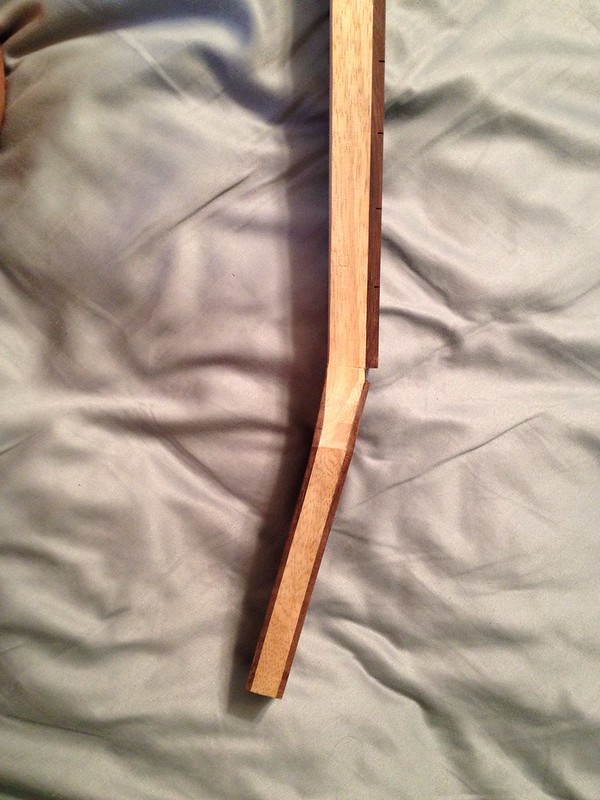
I then flush trimmed the ears with a router and tried my hand at wood bending. I first made a caul, took a clothes iron and a damp towel, heated and pressed the veneer to shape it, re-moistening the towel as required, and bent it roughly to shape. I then clamped the heck out of it with a round block at the contoured area and got this:
After rough cutting and shaping the headstock to shape:
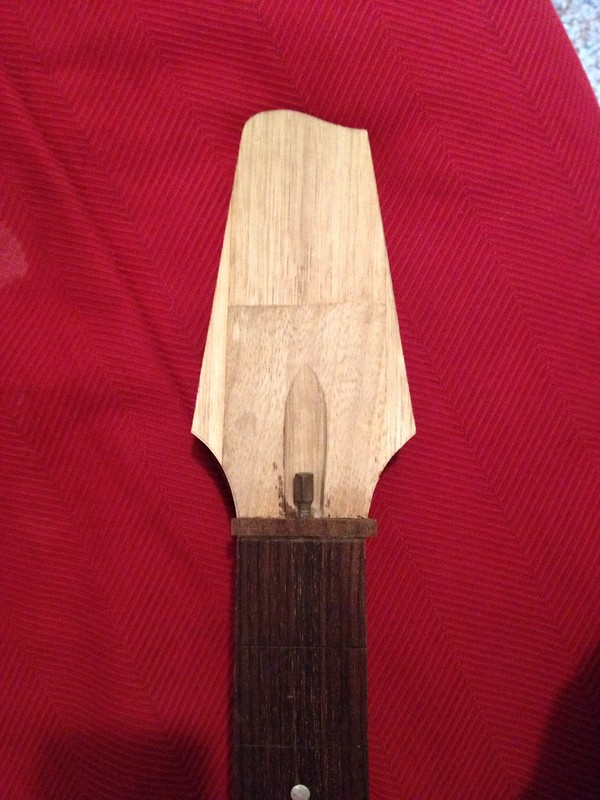
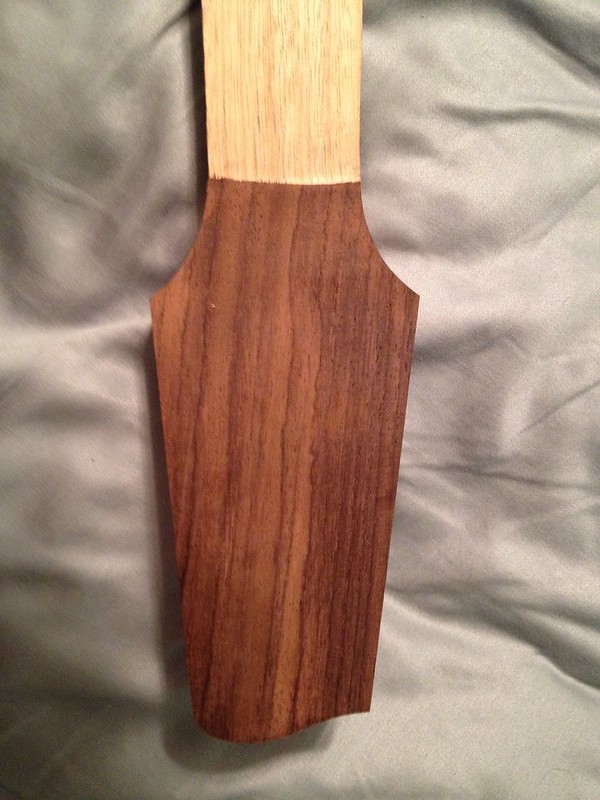
I then shimmed the nut area (where the truss rod nut isn't even with the neck) with some leftover rosewood, glued the front headstock veneer, trimmed it to shape with the spindle sander, a low angle block plane, and a round sanding block to get this:
The top (I wanted my own headstock design since I made it, not Gibson):
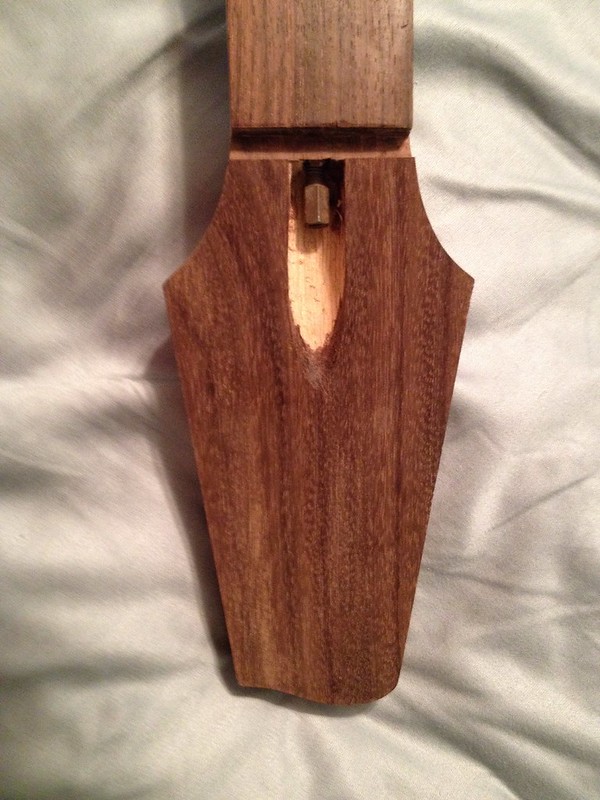
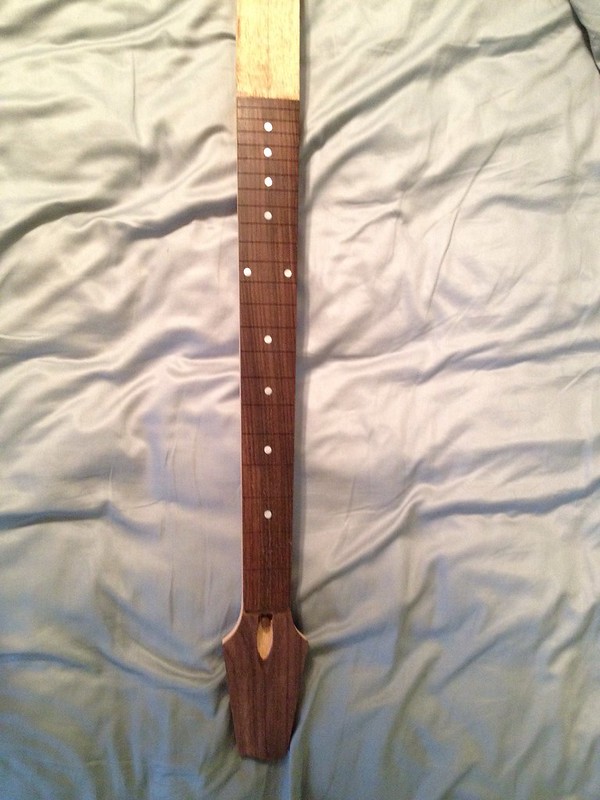
The back (I'll finish this area when I carve the neck profile):
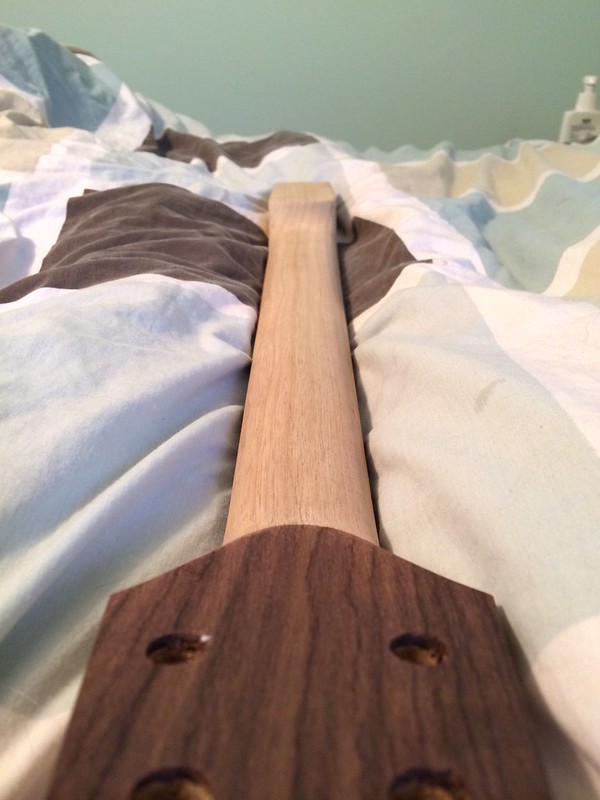
I worked on the neck thickness a bit more too. At the first fret it's about 0.91" I think I'm going to leave it there. Just need to drill the tuner holes, do the headstock logo, fret it, make a truss rod cover, and carve the profile! It's finally starting to come together!!:
Got them Statesboro Blues
Looking at the pictures again I should've used the rear headstock plate for the front and the front for the back. Oh well. Too late now!
Got them Statesboro Blues
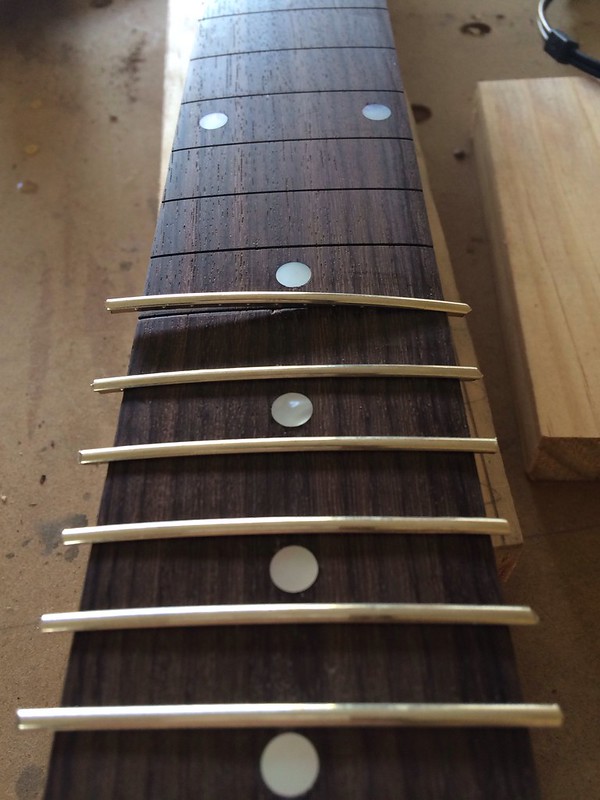
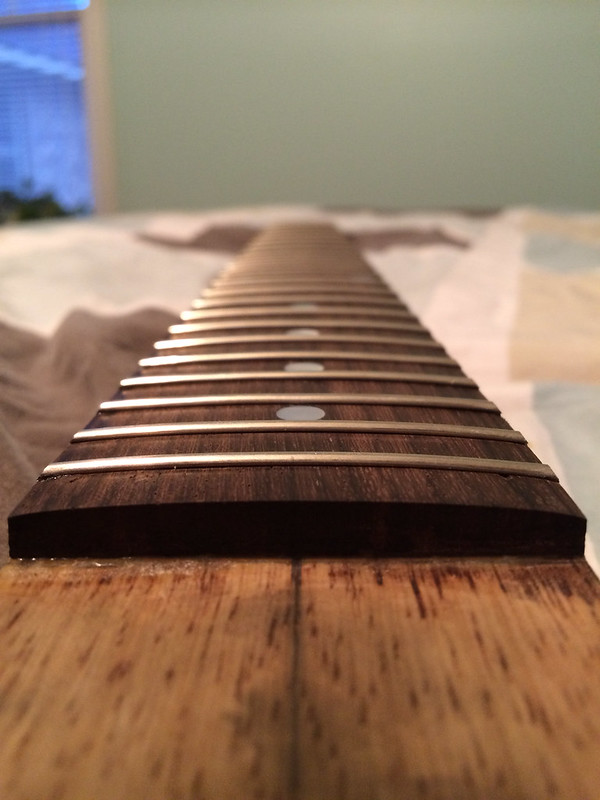
FRETS! I have frets installed!
I followed the instructions from a renowned Canadian luthier who restored Alex Lifeson's old ES-335. I still need to level and dress them but they're installed and glued in now.
After cleaning the fretwire and making sure all the gunk is out of the fret slots with an exacto knife I took a small rat tail file and filed a bevel in the fret slots to compensate for any inconsistencies in the bottom of the fret wire.
Then I cut a piece of fretwire and pounded one end in with a deadblow hammer.
Not having any sort of press I used a radius block and my deadblow hammer to hammer in the frets. One solid whack on the opposite side and one solid whack in the middle is all it took most of the time.
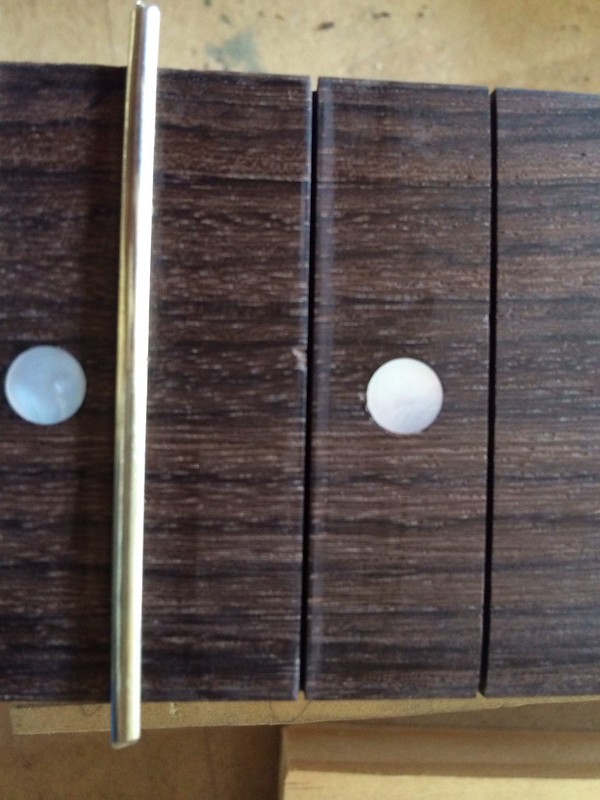
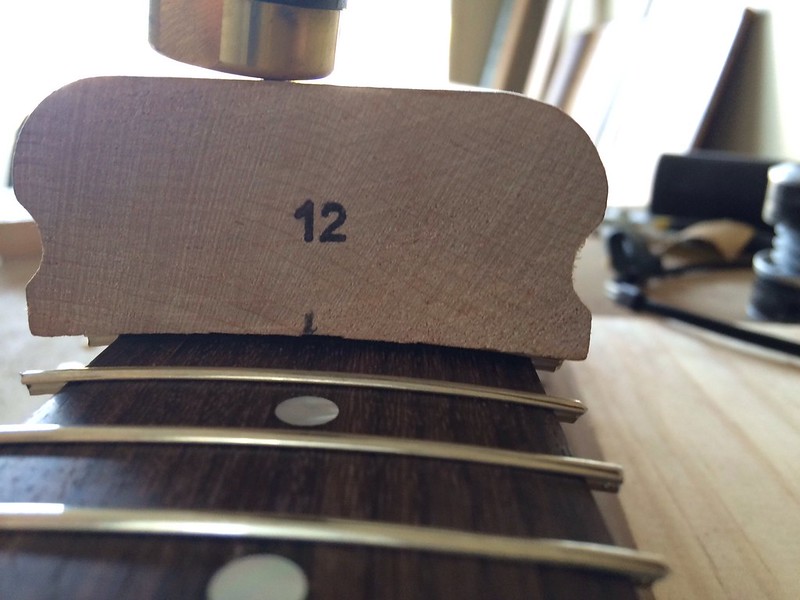
I then wicked thin CA glue into the bottom of the fret slots to seat them, filed the fret ends flush with the fretboard, and added a 35 degree bevel to the ends of the frets. I ended up with a couple frets that were too high
One of the high frets close up:
So, following the luthier's instructions I heated the fret up with a soldering iron until the frets just popped right out. The heat breaks the bond of the glue and loosens up the fretwire so after about 30 seconds or more of heat the fret comes right up (they were solid in the slot without heat). Then I repeated for the 5 frets I pulled.
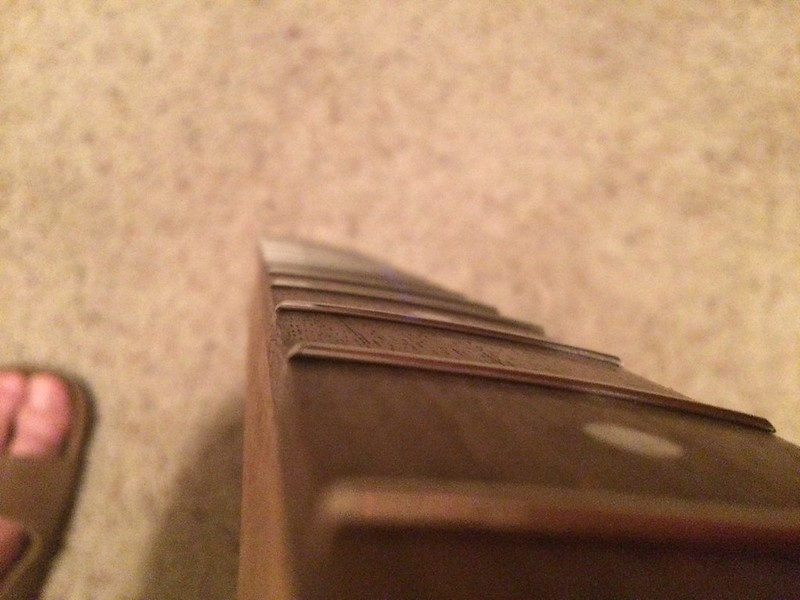
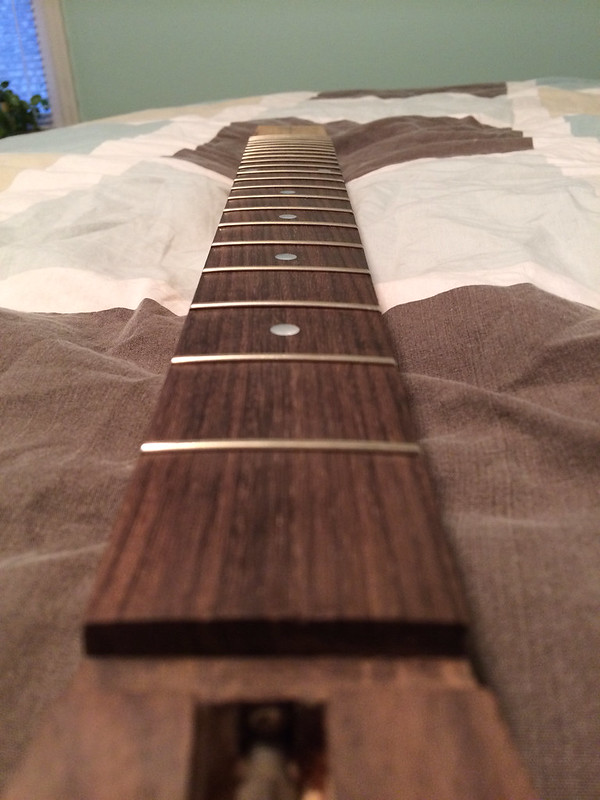
This is the result! They just need to be leveled and dressed!
The neck is almost finished!
Got them Statesboro Blues
Looking good!
Thanks Don! I hope to have the neck finished by the end of the month. I might be able to have it ready for paint by thanksgiving!
Got them Statesboro Blues
Wow wee! WAY more involved than any of my builds, you have more patience than I do.
This project is SO cool, and I LOVE looking at the pics!!!
"don't worry, i'm a professional!"
Thanks Chuck! I just hope the rest of it goes together smoothly!
Got them Statesboro Blues
Just keep telling yourself; "I'm on the 'gravy train' with biscuit wheels"!
"don't worry, i'm a professional!"
Got them Statesboro Blues
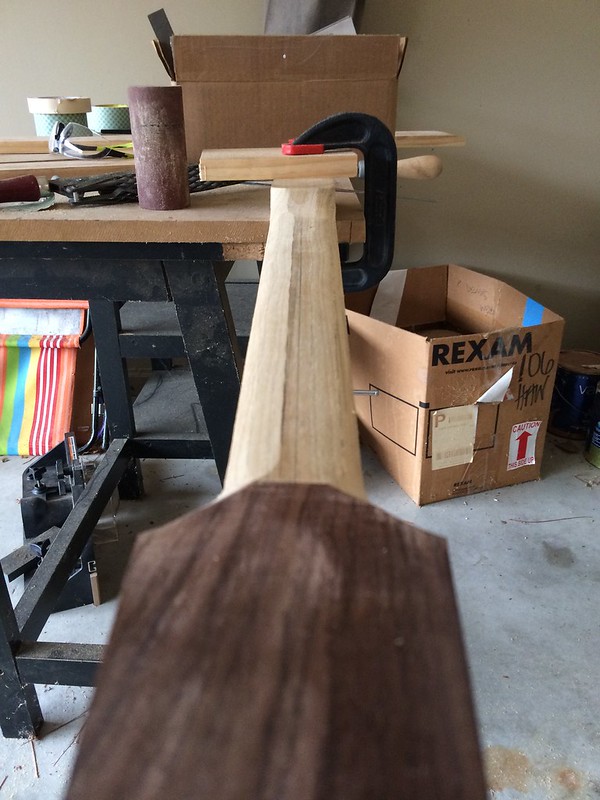
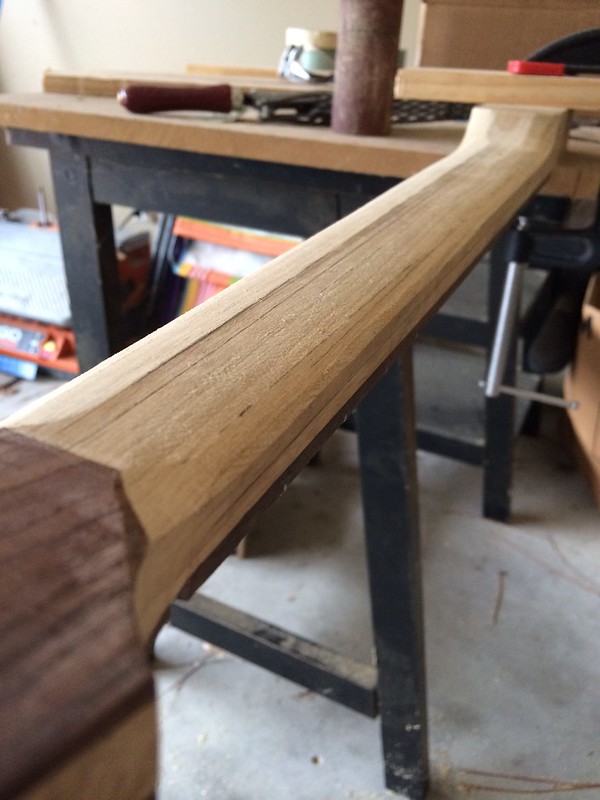
More progress! Last weekend I started off by roughing out the neck profile. I first marked up the profile by drawing center lines on the back and both sides of the neck. Then I added center lines to those center lines like so:
I then used a Shinto rasp to carve angles between the first two (innermost) sets of lines on the outside of the neck.
Then I added center lines to my carved edges and carved to the lines on either side of my first 2 carves, eventually creating 6 angled edges.
All that rasping left me with this:
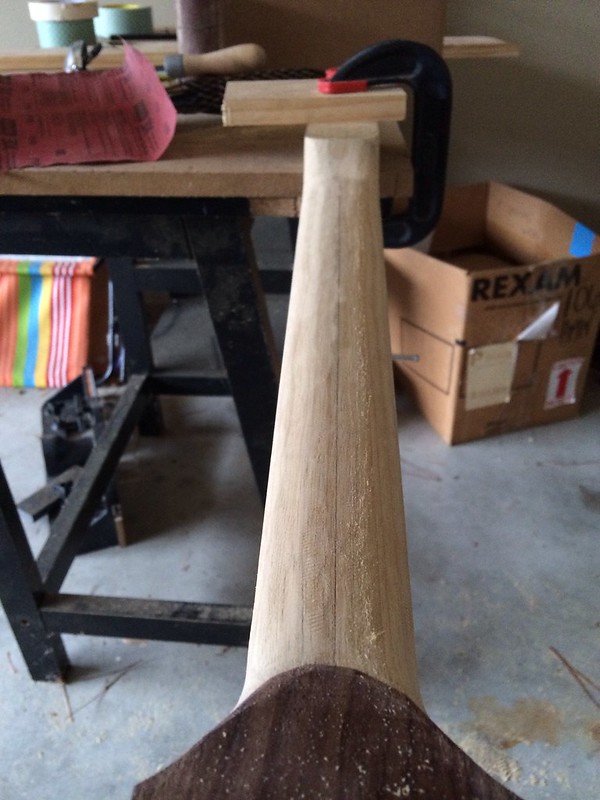
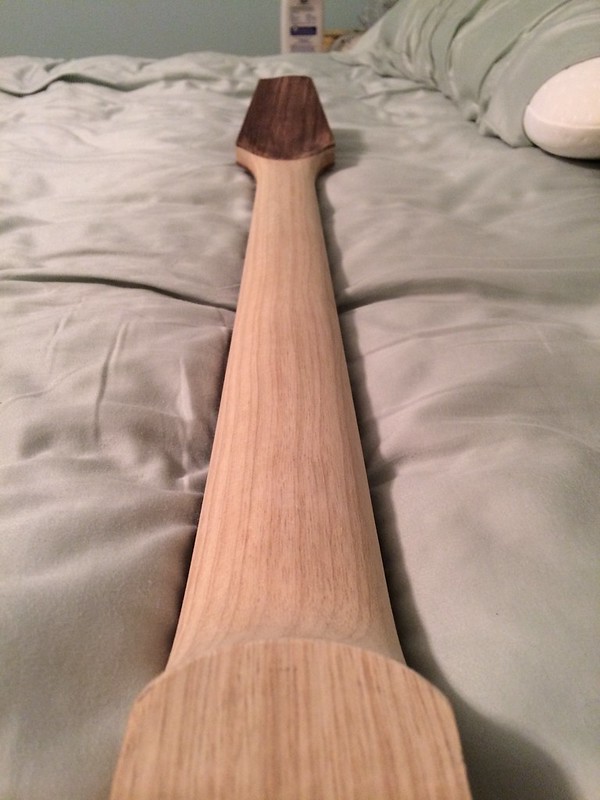
Then I spent some quality time with a file and sandpaper to get the neck profile to my liking.
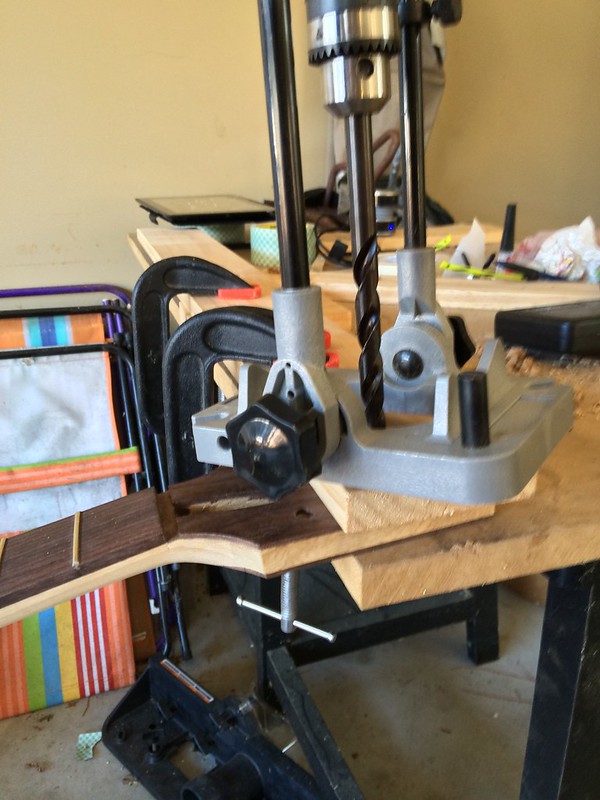
Then it was time for side dots and tuner holes. The side dots were a bit tricky to get perfectly in line (which I didn't get but it's hard to notice) but I learned and applied that to drilling out the tuner holes (no picture of side dot installation). I measured out and punched a divot in the headstock to help me center my drill bit better. Then the trick was to drill without getting tearout. I stepped up drill size (small pilot holes, then a medium sized bit, then the full size 13/32 bit) and used a "bushing" (a piece of pine with a 13/32" hole in it) to help center the drill bit and to have something solid against the headstock face to minimize tearout. I got a bit of tearout despite my best efforts but most of it will be hidden by the tuner washers. I'll end up filling those chipouts with rosewood dust and CA glue for good measure.
My jury rigged tuner hole driller thingamajig.
Then I did some minor cosmetic touch ups from some "battle scars" on the body. I sanded some out, steamed out a few more, then patched up the last few with CA glue and Korina dust for seamless repairs. It's almost ready for paint!!
Last edited by tugboat; 10-21-2013 at 09:04 AM.
Got them Statesboro Blues
Wow! Nice work!!!
Thanks Don! Still some work left on the body but if I can set the neck straight and finish the body without router or drill bit tearout I'll be happy!
Got them Statesboro Blues
Wow! You RAWK Brutha!!!
"don't worry, i'm a professional!"
Unbelievable. You should be really proud.
Thank you very much! I can't wait to play it!! It'll definitely be something I treasure for the rest of my life!
Got them Statesboro Blues
Update! Started on the neck pocket but I half-a#$ed the clamping job and the template slipped.
So after sufficiently cursing at myself I trimmed the goof back and added a filler strip. Squared up the area and clamped it in.
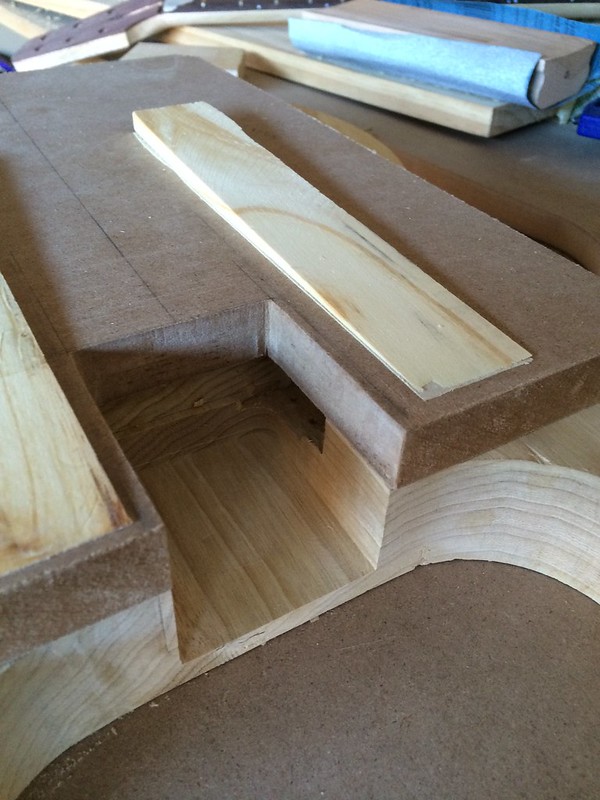
Then I revised my routing method. I found some wedge shaped shims at Lowe's that were just about 2 degrees. So I trimmed them to 2.2 degrees to route in the neck pocket angle and double stick taped the heck out of everything. That thing wasn't moving.
Success! And the obligatory "Look! No glue and it stays!" shot.
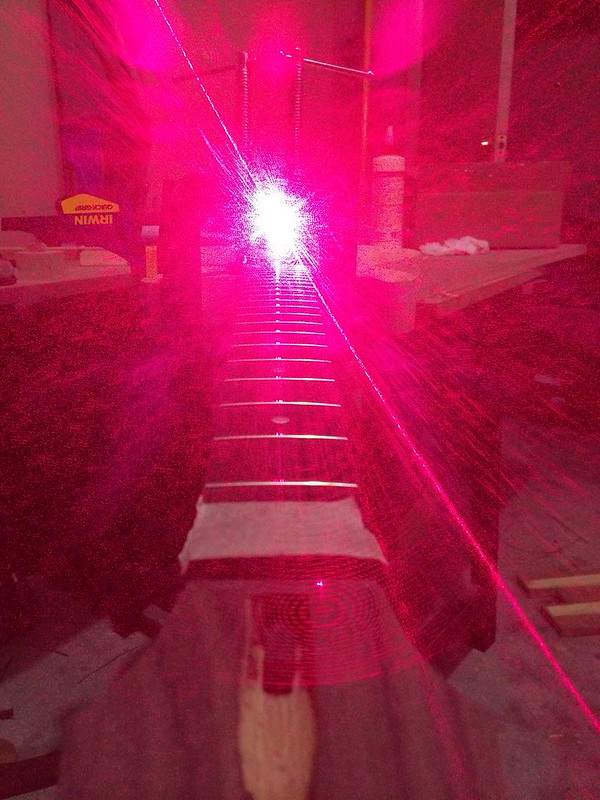
A trippy photo making sure everything was still in line:
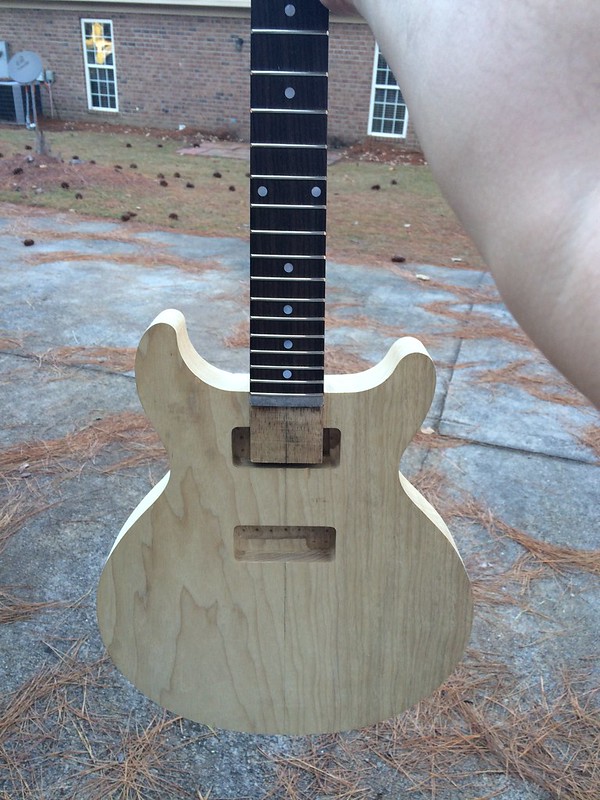
And now time glued up! I thought I would get squeeze-out everywhere (I covered both sides and the bottom of the neck pocket with glue) but I didn't. Since you push in the neck and clamp it down I only got squeeze out on the bottom (I had to use clamps to get it to seat down a the way; that glue made it so tight that I couldn't my push it all the way down by hand). At east that's what I hope is supposed to happen! I didn't get squeeze-out on the top and sides.
I just need to finish the neck pickup route, edge radius, and the electronics and bridge holes and I'm ready to paint!
Got them Statesboro Blues
Beautiful! Nice repair work on that neck joint!
What kind of glue are you using?
Wow, that is really looking amazing. I think you got a guitar there!
Thanks Don and Jim! I hope it's glued properly and it ends up playing and sounding decent. I'm getting pretty good at gluing wood together with all of the goofs I've had to fix!
Don, I'm using Titebond. The red Titebond seems to be pretty widely used in guitar building and has a long open time. I'm not good enough to use hide glue.
I was going to do a natural finish but to help hide the goof I'm switching to a Fender two-tone sunburst. Vintage 50's shaped pickguard, only cream with cream pickup covers.
Got them Statesboro Blues
That's what Fender and Gibson did!
Didn't know that but makes sense! I did know that Fender hid bad burst jobs by painting over it. I don't plan on letting that happen on this. I'll practice on MDF before I attempt the burst on the guitar.
Got them Statesboro Blues
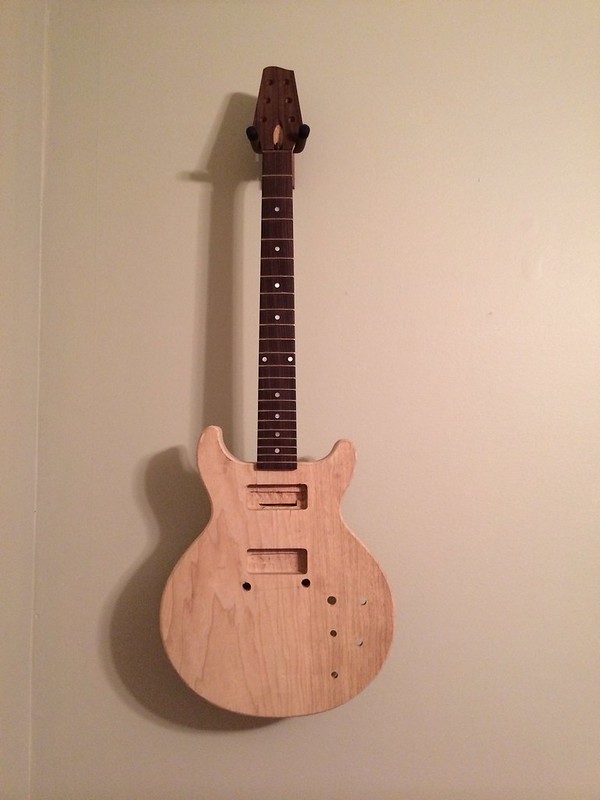
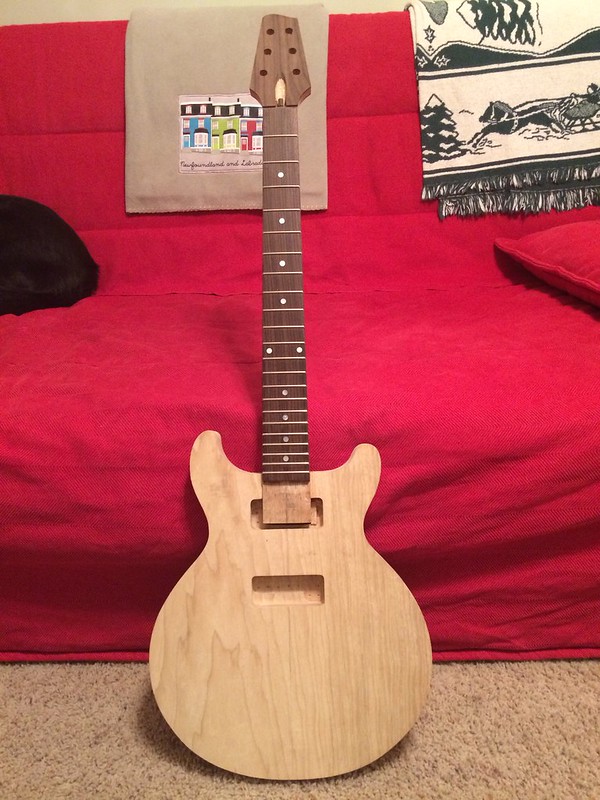
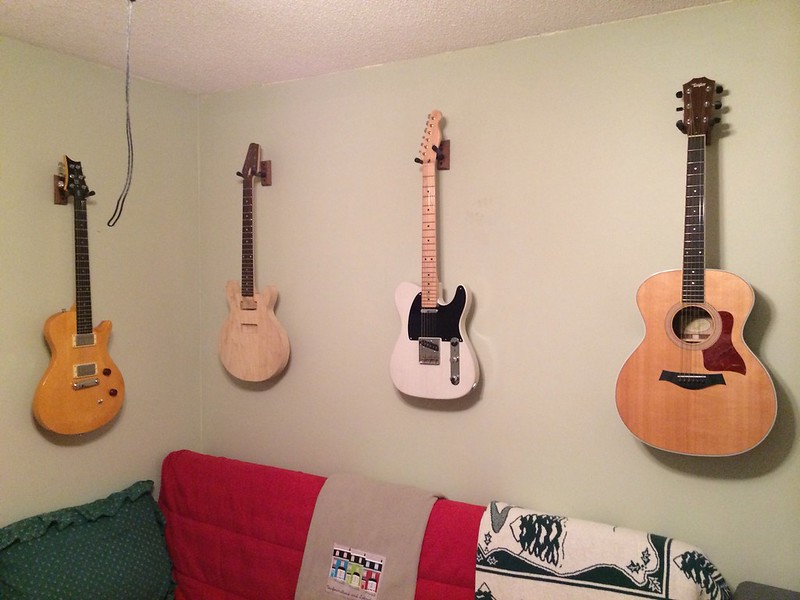
Took the clamps off for the last time! Took them off last night just for some pictures but out them back on just in case. Now it's getting it's spot in the man cave warmed up with the rest of the family!
Got them Statesboro Blues
Neck pickup route carved back out, bridge holes drilled, and electronics holes drilled. How people can drill holes without chipout is beyond me. I tried everything and still got chipout. Fixable though. I also started filing the edge radius.
The drill bit wandered on me when drilling the bass bridge bushing hole. I have enough adjustment in the bridge to compensate for it...I hope!
Got them Statesboro Blues
I like to use forstnet bits for a lot of guitar drilling. Not always for the final cut itself, usually as a "2nd pass". So I Mark the hole, punch it, pilot hole, forstner, then final size. That's for a hole that has to be EXACT.
"don't worry, i'm a professional!"
I should've used a forstner bit to cut those holes. I forgot that I had a 1/2" forstner bit until afterwards. I marked it, punched it, but I stupidly didn't drill a pilot hole. The holes ended up somewhere in-between the hole placement of a TOM and a 50's wraparound. I've seen quite a few different bridge placements and different measurements to locate the bridge so I'm not sure exactly how worried I should be. The holes ended up a lot closer to the bridge pickup than I though it would be too. I measured countless times so I'm satisfied that I marked it out correctly.
Got them Statesboro Blues
Well, measure to see where your low E saddle is gonna end up. You'll know real quick whether it's gonna intonate or not. I got my fingers crossed for you buddy!
"don't worry, i'm a professional!"
I think I'll be OK. The fretboard has a 24.562" scale length and on the bass side the break on my wraparound tailpiece (at the inside of the bass bushing) is 24.75".
We'll see next weekend!
Got them Statesboro Blues
You learn more from your mistakes that from success...
Very true Don. The bridge should only be .030 - .060 off and my bridge has enough adjustment to compensate. So far my goofs have all been correctable. Hope this one doesn't bite me! I think I should be OK. I'll string up both E strings and check intonation prior to starting the paint.
Got them Statesboro Blues
That makes me the smartest man in the world.
You might have come competition from me on that one!!
Got them Statesboro Blues
I'm right up there, myself!
 Posting Permissions

 Reply With Quote